Awaiting Spring Blossoming
Cherry and Almond Flower Canelés

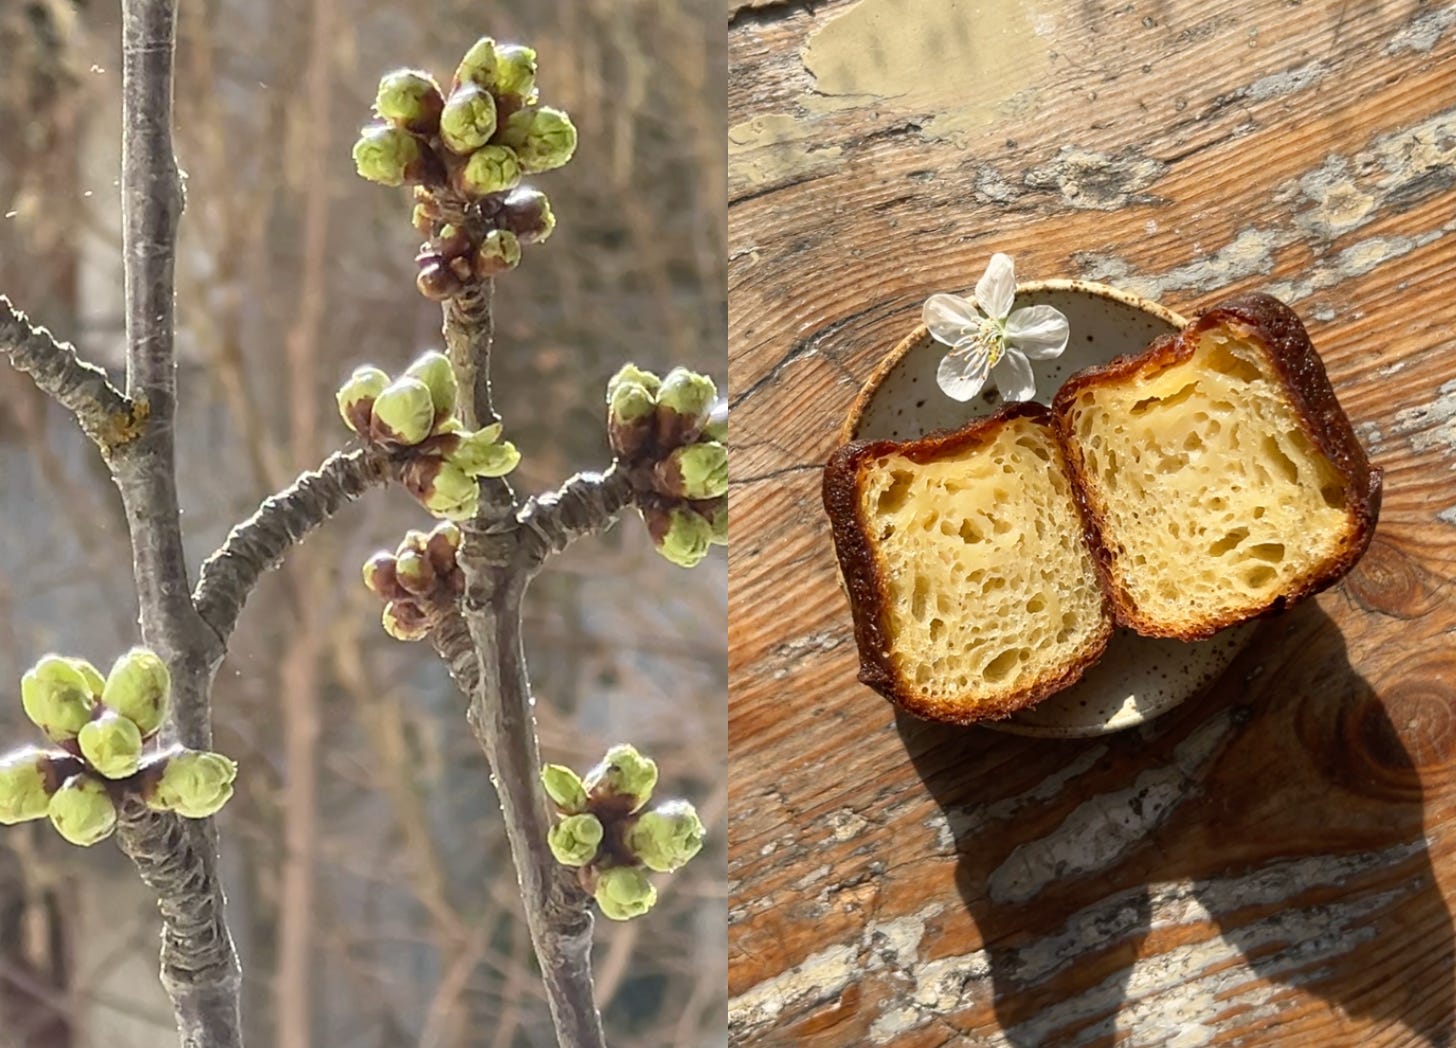
This February in Mallorca, I was lucky enough to catch the very first of all blossoms to bloom each year: the almond flower. It was a magical sight to behold, and smell to float upon throughout the following weeks back in barren, budless Berlin. (Not just in memory: I brought back this almond blossom perfume from a small Mallorcan producer I visited.)
Back home, I started grasping for the spring that wasn’t yet. I caught myself hunting for the first signs of its arrival on trees, cloud-speckled skies, sun-facing faces. I meticulously tracked the growth of sprouts, celebrated every bursting leaf on my street, cheered on the crows building nests I’d never noticed for years before. I bugged flower shops for branches of cherry, sweet or sour; magnolias, bloomed or not. Anything to help me keep faith spring was, in fact, awakening soon.
When I finally decided to nudge (my) spring along, I didn’t view it as bridging or shortening the wait, but rather as honouring it.
There are many desserts that require patience. But I kept coming back to canelés with their fluted, floral shape like little, bouncy buds about to bloom. I wondered what they would taste like with notes of cherry blossom, almond, magnolia.
After the first few batches I realised that waiting for blossoms is a lot like waiting for (canelé) batter to infuse: You wait because you know the bloom—of flavour, of blossoms—can’t be rushed.
It’s a little bit easier to wait when you trust the wait is doing something. I vowed to approach all my hopes in life this way.


I was a late bloomer to canelés.
I’m pretty sure I tried them for the first time a year ago at La Maison here in Berlin. I loved them instantly. But I always wondered: what if they were just slightly… softer? Less crusty, more chewy, springy?
I started with Kitchen Projects’ recipe as a base (her instructions are incredible for understanding and customising a new recipe) but I knew I wanted to experiment with timings to adjust the crust. I ended up reducing the baking time by a total of 15 minutes (minus 5 at high heat, minus 10 at lower heat), and developed the perfect texture (to me): a chewy custard ‘tarte’ with a perfectly golden brown but tender crust; just barely holding its shape.
I even experimented with a single sakura-shaped wagashi mould I bought at a flea market in Japan but heating the oven to 230°C for one tiny canelés seemed excessive, and the texture wasn’t quite right either. A visually rewarding experiment nonetheless (see above).
The flavour of the canelés obviously had to echo spring blossoms.
I channeled the first almond blossoms that ignited the spark by replacing rum with almond blossom liqueur, captured the sour and sweet cherry I was so desperate for via strongly brewed sakura flavoured green tea. (Both linked below.)
Magnolia is the one that got away because I just couldn’t bear the wait. But, in Berlin, they might just bloom this week. #magnoliawatch2026


Recipe & Instructions
Active time: 30 minutes
Baking time: 45 minutes
Resting time: 2-3 days
Serves: makes 6-7 canelés
Spring Blossom Canelés
200ml whole milk
1/2 vanilla pod
25g butter
50g flour
95g sugar
2g salt
2 egg yolks (about 35-40g)
25g flavouring liquid of your choice (my favourite was very strongly brewed cherry blossom tea like this, Carlo loved almond flour licqeur like this)
Ghee or vegetable oil spray (anything with a high smoke point, like avocado; I used this)
Prep


Turn oven to around 100°C. Place butter in heating oven and retrieve when melted. Turn off oven. (Or use your microwave if you have one.)
In the meantime, add milk to a pot and place on medium heat.
Scrape half of a pod of vanilla and add to milk. Also throw in the pod.
Stir and bring to a soft simmer, then set aside to let infuse.


Whisk all dry ingredients (flour, sugar, salt).
Add melted butter and whisk (with fork or whisk or even hands) until you get a grainy sandy texture (see pic).


Pour warm milk into mixture a little at a time, while whisking vigorously (keeps the eggs from curdling AKA tempers them). Leave out vanilla pod.
Add one egg yolk at a time, whisking; then mix in flavouring liquid of choice.


Strain into storing container. Add vanilla pod back in. (If using tea to flavour, put tea bag in as well.)
Leave in fridge for a minimum of 24h but ideally 48h or even 36h for best flavour.
Baking


When ready to finally bake, preheat oven to 230°C fan. Place canelés moulds in oven to preheat as well.
Retrieve canelés liquid from fridge and stir. (It will have separated.) Take out pod and tea bag, if used.
Once oven hits temperature, take out form and spray lightly with ghee or vegetable oil spray. Move quickly to not cool down the form too much.
Quickly fill forms about 3/4 or 4/5 of the way. (They will rise a bit, so you don’t want to fill them all the way up.) It will sizzle a bit but shouldn’t splatter.


Cook at 230°C fan for 10 minutes, then turn down to 180°C fan, and turn the form back to front to ensure even cooking (and let some air out the oven).
Cook for another 35 minutes.
Take out and let cool, before using a knife to carefully wiggle between canéles and form in several places. They will stick quite a bit but, since they are basically a custard, they are pretty forgiving and spring right back. (Hehe.)


Et voilà! Enjoy. :) Store airtight for up to 3 days or eat right away.
Need to try these! (And that perfume!)